This week I taught a 2 day hands-on lab (HOL) focused on .NET Core, Kubernetes, and microservice architecture, for VS Live.
The repo with all the code and instructions is in GitHub.
For the most part the labs went as expected, and I got good feedback from attendees.
But there were a couple challenges, and I thought I’d record those here - for the attendees, so they know what I’m doing going forward and immediate resolutions - and for myself for future reference.
Minikube to Docker Desktop
First, minikube has to go!
A couple years ago when I first started with this HOL, minikube was the obvious choice, because it was stable and made it easy to get Kubernetes running on a laptop or desktop workstation.
Over time minikube has become less and less reliable. It only works on some machines, and this week it would work and then suddenly stop working.
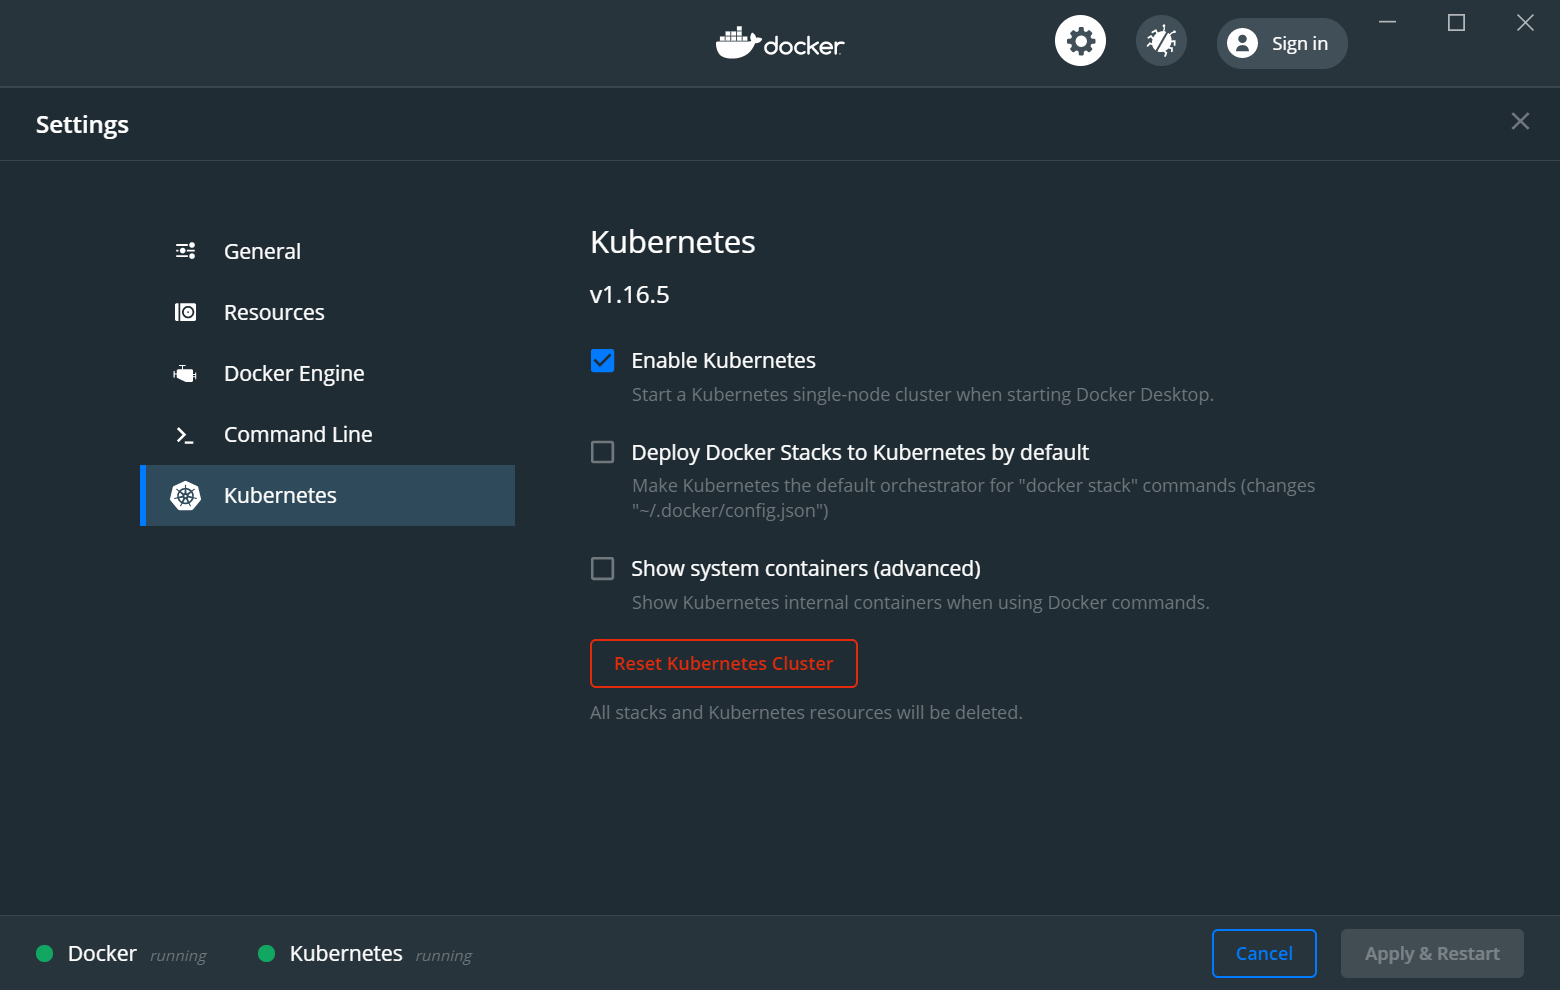
Fortunately Docker Desktop includes a Kuberenetes service as well, and it now appears to be quite reliable and functional (I say “now”, because about a year ago I tried it, and it was not up to date - things change fast in this cloud world).

I plan to rework all the labs to eliminate minikube and focus entirely on using Docker Desktop k8s.
The wrinkle here, is that there are slight configuration differences depending on whether Docker Desktop is running its daemons in a VM or in WSL2. It is far easier in WSL2, but for folks that haven’t yet discovered the joy of WSL2 they are stuck running it in a VM. So I’ll need to provide instructions for both deployment scenarios - which will still be worth it to get a reliable k8s install on people’s computers.
I do want to note that I also really like microk8s a lot! This is what I use for my home office k8s cluster, and it is fantastic! However, from a .NET dev perspective with Visual Studio, the Docker Desktop k8s install is faster and easier to set up and get running, and so for the labs I think it is the way to go. If you are setting up a more robust k8s cluster though, I strongly recommend looking at microk8s.
Installing RabbitMQ in Kubernetes
Installing a simple rabbitmq container in docker is extremely easy. Basically
docker run -d --name my-rabbitmq rabbitmq
The result is a single container running rabbitmq with default settings and the default username/password of “guest”/”guest”. Easy, and good for things like a HOL.
Installing rabbitmq in Kubernetes is way harder. You wouldn’t think it would be hard, but it really is, at least by comparison.
Fortunately there was a Helm 2 chart 12-18 months ago that worked quite well. Today there’s a Helm 3 chart that also installs rabbitmq.
The challenge is that (prior to this week) those charts allowed for setting the default username/password during install like this:
helm install my-rabbitmq --set rabbitmq.username=guest,rabbitmq.password=guest,rabbitmq.erlangCookie=supersecretkey stable/rabbitmq
By default the charts created a randomized password, but for the HOL it was easiest to keep using the guest/guest account.
Somewhere in the past few months (since March 2020) the chart got updated such that it doesn’t honor those username/password parameters.
Objectively perhaps this is good? Perhaps it shouldn’t be possible to set up a username/password during the install? Or perhaps it is still possible, and just some parameter names were changed?
In any case, someone wrote a decent Install and Configure RabbitMQ on Kubernetes blog post. The most important part of this post are the instructions on how to log into the rabbitmq admin GUI, where you can add a user - such as guest.
I’ve updated my HOL repo to split what was Lab04 into two labs. The new Lab04 is entirely about installing and configuring rabbitmq. The new Lab05 is the bulk of what was Lab04, focused on deploying your services into Kubernetes.
Clarifying Cleanup
An attendee suggested that perhaps I need a final lab to summarize the cleanup instructions - how to stop all the services, remove the Azure resources, and make sure everything is shut down.
I think that’s an excellent suggestion. The instructions on how to stop everything are in the labs, but not consolidated in one location. So this will be a nice improvement to the overall experience.
Summary
Thank you to everyone who attended this week’s HOL, I really appreciate your feedback during the 2 days and look forward to talking to you again at a future event!
I fully expect to deliver this HOL again in the future, so keep an eye on my twitter feed and/or this blog for updates on when that’ll happen.